Click stop multi-position switch.
The aim with this project was to create a rotary switch that behaves like a physical rotary switch-having “click stop” positions.
This one doesn’t behave like the stock rotary switch if the number of list entries exceeds 10, but continues rotating until the last entry is reached. The waveforms are not shown as a list around the control, but in a text box underneath the control.
Third party modules.
This project requires SynthEdit 1.5 for the Vector knobs, and the following 3rd party modules to operate.
Elena Novaretti’s ED modules;
RD GUI Multiply (Float),
ED GUI Add (Float),
ED GUI Multiply.
Note:- The ED GUI Fixed Float modules aren’t essential as you can put the values into the modules directly and they are retained. I have used them to make it easier to see what’s going on.
Davidson’s DAM modules;
DAM List size.
How the rotary switch works.
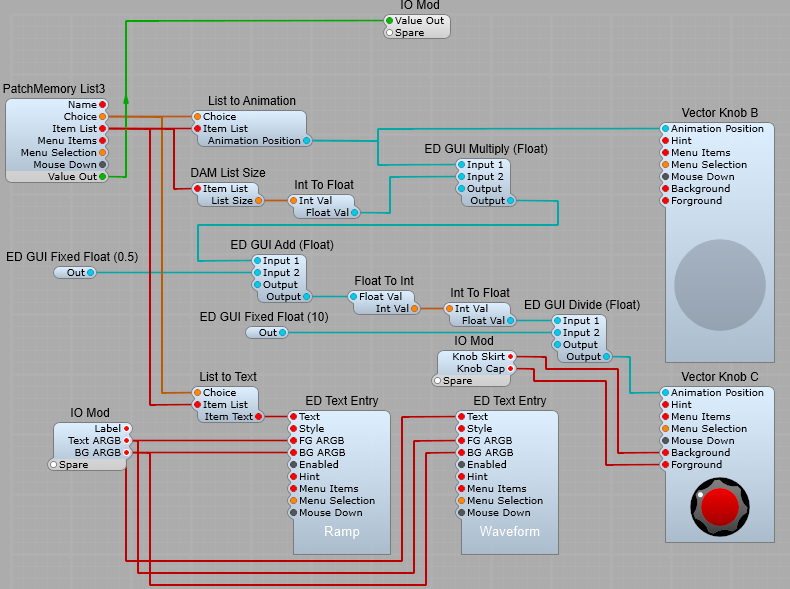
The basic idea is that Vector Knob B is used to control the Item selection, and via a chain of Math and datatype conversion modules to produce the “Stepped” motion in Vector Knob C.
As usual the PatchMemory List3 takes the list of options from the module connected to the Value Out plug, which is then turned into an enumerated list. This is fed to and from the Vector Knob B to select the list option required.
DAM List Size is used to output the total number of entries in the list which is used to control the stepping motion of Vector Knob C. The Animation position is fed to the ED GUI Multiply module where it is multiplied by 10,
Note: I found that the GUI Add module was needed to add 0.5 to the 0 to 10 float range for the prefab to step through the options correctly, (this seems to be a bug of some sort with the enumeration as without it the last two steps select the same option).
The scaled up Animation position is then passed through a GUI Float to Integer, then through a GUI Integer to Float to produce steps of 1 (Brute force Quantizing as there is no GUI Quantizer module). This is then Divided by 10 to produce the correct range of 0 to 1 float for the Animation, but in fixed steps of 0.1 float.
Important notes regarding Vector Knobs B and C.
There are some specific settings you need to apply to this for the prefab to look, and work correctly;
Vector Knob B
Background colour ARGB– 55000000,
Foreground colour ARGB- 00FFFFFF
Arrangement of controls- In panel view the Vector Knob B must be a) Behind Vector Knob C (Right click- Arrange- Move to back), and must be larger than Vector Knob C. I wanted it to look as if Vector Knob C had a transparent “skirt” around it to make it look like one complete control.
Vector Knob C- Should be set as “Read Only”, if it’s not the prefab will still work, but you’ll lose the visual “click-stop” effect and just have continuous smooth rotary movement of the switch.
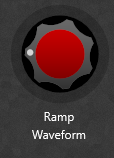
The completed control in Panel View.
Leave a Reply